

VICKSBURG, MS
Ways of old provide easy meals for outdoorsmen
Photographs by Nathan Beane
One of the most alluring aspects of being an outdoorsman is the sense of self-dependency and knowledge of how to live off the land. Hunting and pursuing quarry for food is challenging and, when successful, is rewarding beyond compare.
Many outdoorsmen who hunt wild game also have the knowledge to process the meat after the harvest; however, many might not be aware of the ability to can meat at home. When a deer hunter has been successful in the field, a bounty of meat is afforded. Often, storing large quantities of food, enough to feed a family, becomes a concern.
My childhood was spent on a small farm where I was exposed to raising and butchering chickens, pigs and cattle. I watched my father process wild game. I also spent a considerable and invaluable amount of my youth with my grandmother, who taught me how to take care of food once in the kitchen. She shared with me her lifelong experience of being raised with five siblings during the Depression. Most importantly, she demonstrated how to make the most of what you had and to maximize space for storing food at home. Home-canning was something she loved to do, so I spent lots of time with her canning garden vegetables, soups, broths and sweets. This skillset became even more valuable once I learned its importance as a hunter and outdoorsman who enjoys camping.
When I was in graduate school in West Virginia, I spent a lot of time in the woods and harvested many deer. The meat was excellent. I knew how to process it at home, and, when my wife and I struggled with monthly rent, college expenses and a limited income, the enticement of deer meat was inescapable. Deer are an abundant and renewable resource and all I had to do was hunt. Say no more. As soon as archery season opened each fall season, I was in the woods.
Hunting and harvesting deer was easy to me and I love the entire process of it. In fact, in a different life, I might have become a career butcher. I delight in the after-the-harvest process almost as much as the pursuit of the animal. My deer harvests were to provide Heather and me with meals throughout the year, but available cold storage quickly became a limiting factor.
With the assistance of friends we met in West Virginia, we found the solution — a way to store deer meat without having to freeze it. Our friends had canned deer meat for decades and eagerly showed Heather and me how. To this day, I love canning deer meat and the tenderness of the end-product as a result of pressure cooking. It is an excellent way to keep and preserve food outside of refrigeration and although it’s labor intensive compared to just placing meat in the freezer, the value added to the extra effort is that the meat is fully cooked when processed and is ready-to-eat at any time.
One of my favorite ways is to use small loin-cut steaks battered in flour, and cooked ever-so-slightly in a skillet with a small amount of olive oil or unsalted butter. I need to cook only long enough to make the batter brown-up. As the meat cooks fully inside each jar, its juices blend with the cooked flour batter to create a tasty gravy. So with some precooked rice and a jar of my home-made venison, a redneck version of beef tips and rice is ready in minutes.
When I mention canned deer meat to friends, the response is always the same, “canned what?” The discussions are always comical, but eventually lead to a description of how it works and the ease and utility of doing it. I’ll admit I was leery about the safety of cooking meat inside a jar and storing it in a cabinet. Moreover, my fears of degrading meat quality, consistency and even spoilage were on my radar. However, if you picture canned chili, stew meats and meat ravioli, the hesitancy of the idea lessens. I have canned deer meat for several years and, if done properly, it will store for a very long time. I’ve never had any spoil or lose quality, even after years.
Canning deer meat is a rewarding and enjoyable experience as long as care is taken in the operation of the pressure canner and cleaning of the canning jars and equipment. Ideal for canning are tender cuts, such as steaks and roasts; however, stew meat and cuts suitable for ground meat preparation are acceptable as the pressure-cooking process tenderizes the meat. Meat should be cut with the grain and no more than 1 to 2 inches thick. Smaller cuts of meat are preferred so that they fit easily into the jars; however, larger-sized pieces may be rolled up to fit into jars. Wide-mouthed canning jars are ideal.
Once the meat is cut, I keep it chilled for quality assurance and also ease of cleanup. When packing meat into each jar, the meat should be packed loosely so air can be expelled and the meat completely cooked during processing. Salt, unless desired to add at the table, is recommended at ½ teaspoon per pint and 1 teaspoon per quart jar. Herbs and spices are not recommended as they can deteriorate or become bitter if stored for extended periods of time.
Packing is a canning term and refers to how the food is prepared before canning. Packing can be raw-packed or hot-packed. Raw-packed means packing the meat in glass jars with no added liquid before it is cooked. Hot-packed involves precooking the meat and canning it while it is hot; sometimes a hot liquid or broth is poured over the meat. With both methods, one inch should be left at the top of each jar, as the airspace is important for food expansion and creation of the vacuum sealing as the jars cool.
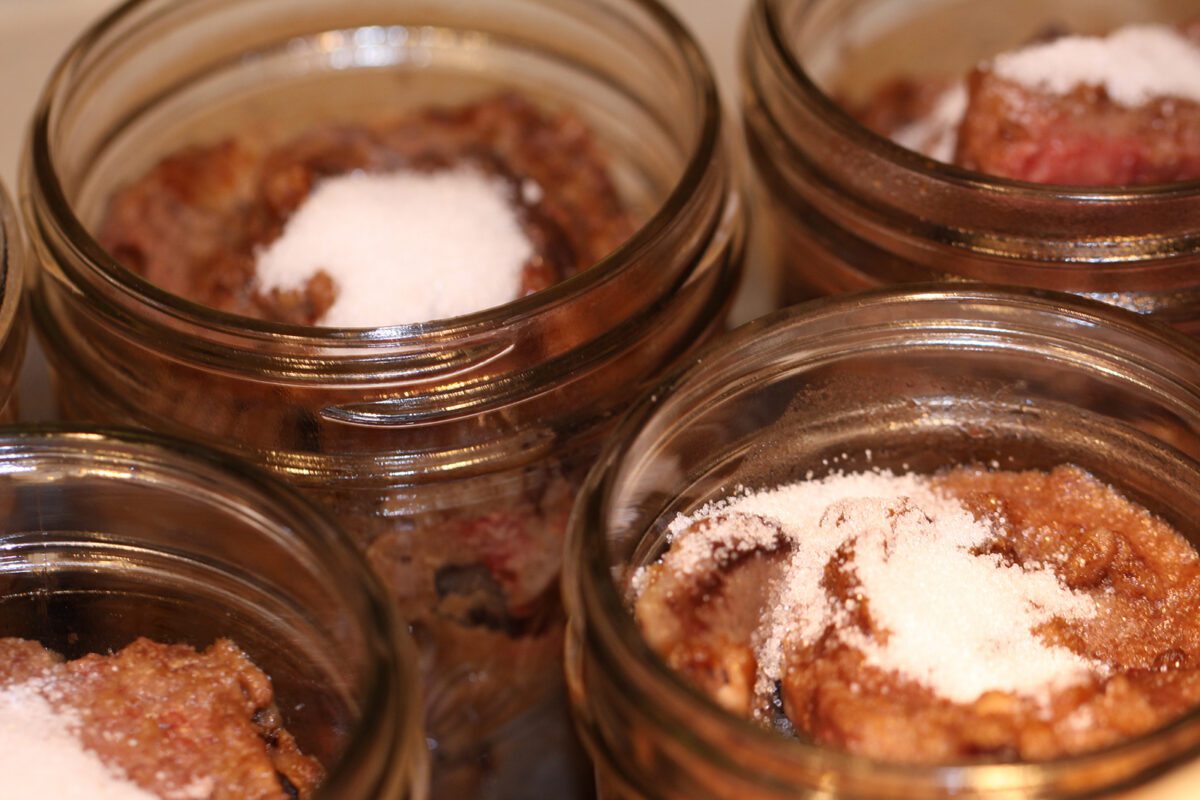
Although variable, about 1 to 3 pounds of meat can be loosely packed into a pint-sized jar. This is the size I use as it’s the perfect amount of meat to feed two people. If more food is required, I simply open additional jars. Once the meat is filled a wooden spoon or spatula may be inserted into each jar to remove excessive airspaces between meat and the jar. Next, each jar top is wiped clean and metal screwbands with seal tops are tightly seated onto each canning jar. The jars are now ready to go into a pressure cooker.
The pressure cooker requires 2 to 3 inches of hot water in the bottom. A canning rack should be in place at the bottom of the cooker to keep the jars from resting directly on the bottom. Jars should be evenly spaced and not touch one another so the steam can properly cook the meat in each jar. Once the jars are situated in the hot water, the lid is locked in placed on the pressure cooker, and the small, vented opening on the lid (called a petcock) is left uncovered. The petcock valve is where built-up pressure, as a result of steam, is released and a weighted gauge is eventually added to ensure the proper temperature (240 degrees) is obtained. It’s important to stress that a pressure cooker is essential and must be used to preserve all meats and low-acid foods.
With the lid secured and in-place on the stovetop range, high heat should be used until steam is seen exiting the uncovered petcock valve. Next, the temperature is lowered to maintain a slow boil, and steam is allowed to exit the petcock for 10 minutes. This is an important step, as this removes air from inside the pressure cooker and will ensure the meat is cooked evenly and properly. After 10 minutes, a 10-pound pressure gauge is situated carefully on the petcock valve and pressure within the cooker will begin to build up. Once adequate pressure is reached, the pressure gauge will jiggle and spew in a rocking motion. Under pressure, the cook time for canned venison is 75 minutes for pint-sized jars and 90 minutes for quart-sized jars. Once you have the heat on your stovetop adjusted properly, you can do other tasks while the pressure gauge jiggles and rocks in a rhythmic fashion; but don’t leave the cooker unattended.
At 75 minutes for pint-sized jars, the cooker is removed from heat and allowed to cool on a heat-resistant surface. The pressure gauge should be removed from the petcock valve only after sufficient cooling time has passed. Be sure that all steam pressure has escaped before opening the pressure cooker. Also, when you open the lid, tilt it away from your face and body so that any residual steam doesn’t rise toward you. The jars should be removed from the cooker and water bath and placed carefully on a kitchen towel. I use a canning tool called a jar lifter to move the jars as they are hot and caution should be used to not drop them. I also cover the jars once they are placed on the kitchen towel to avoid cold air drafts that could potentially crack the hot jars. As the jars cool, the characteristic “popping” of each jar as they vacuum seal will be music to your ears! The final step is to properly label and date each jar for cabinet storage.
Canning venison and other wild game is a skillset every hunter should have. For those who backpack and enjoy camping, a jar of canned deer meat is sure to be a topic of extended conversation around the campfire. During my graduate school research studying high-elevation forests, I spent two summers in a tent, moving daily. After a 10-hour workday and then finding and setting up my campsite, canned deer meat was a lifesaver. All I had to do was warm it up by the fire while my evening coffee percolated.
The wonderful part of home canning meat is that each jar is fully cooked, portable and allows for storage of wild game when freezer space is limited. If you want additional information or have questions, email me at [email protected].
STORY Nathan Beane
PHOTOGRAPHY Nathan Beane
